




Google Sheets Hide Rows: The Practical Guide
Google Sheets Hide Rows. Learn how to hide rows in Google Sheets using shortcuts, filters, groups, and protected ranges. Step-by-step guide

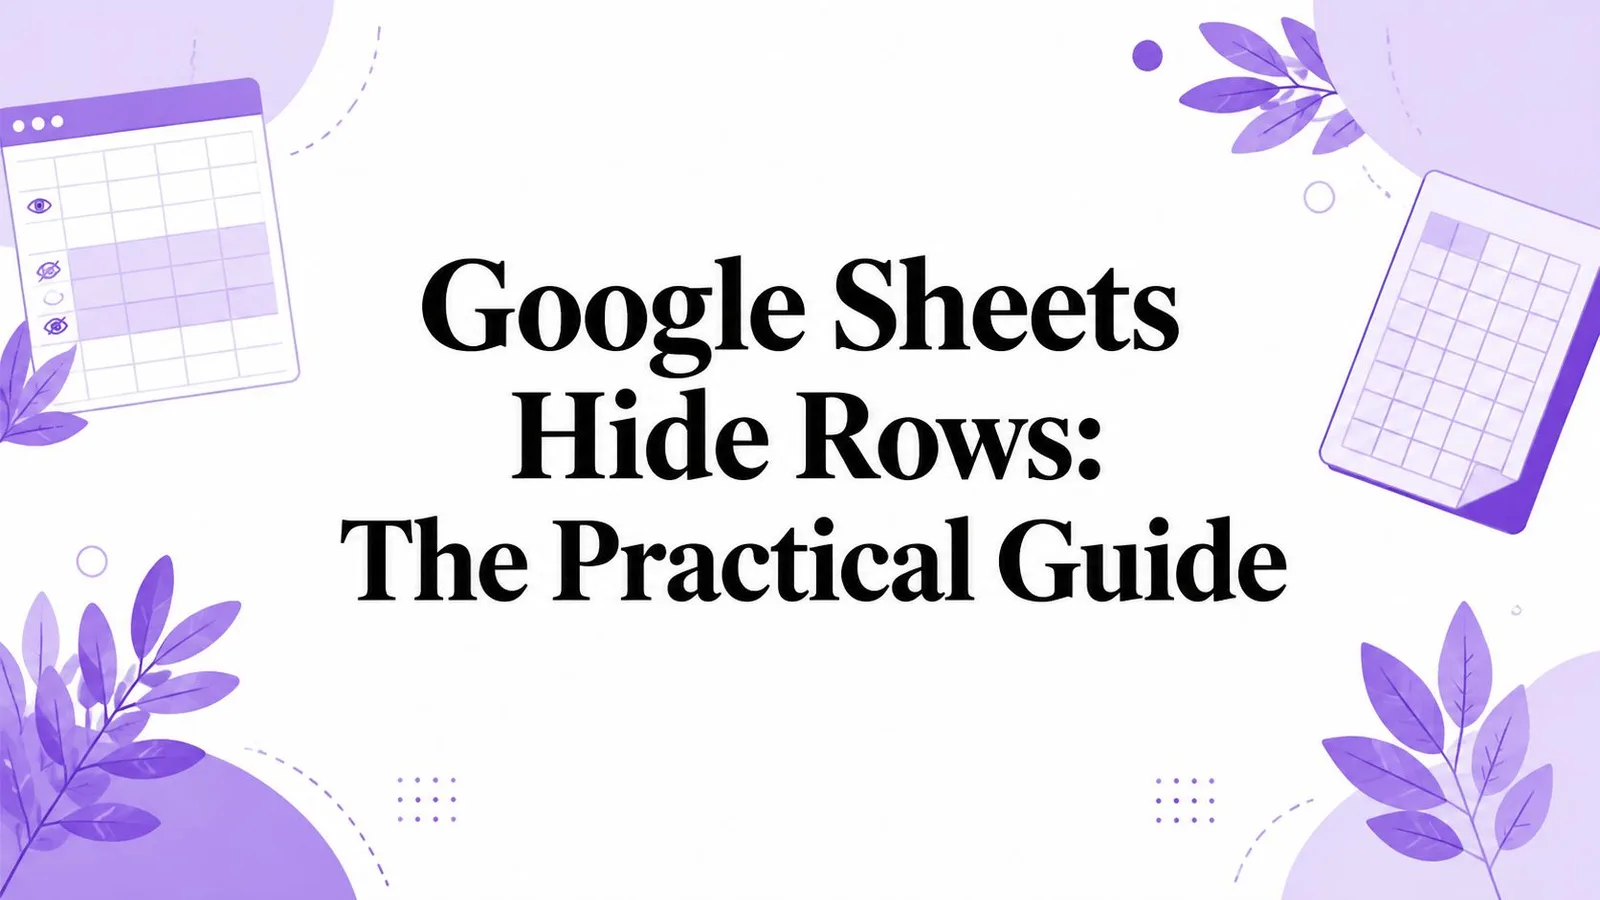
You open a shared Google Sheet and the row numbers jump. A section that should contain several records has vanished, formulas appear to skip visible lines, and nobody in the team remembers deleting anything. In most cases, the data is still there. The problem is identifying whether someone manually hid the rows, applied a filter view, collapsed a group, or reduced the row height to zero through a paste or script.
That distinction matters because each visibility mode has a different fix. This practical guide to Google Sheets hide rows workflows starts with diagnosis, then covers manual hiding, unhiding, grouping, filter views, protection, and automation pitfalls.
Table of Contents
- When Rows Disappear Without Explanation
- How to Hide Rows Manually
- How to Unhide Rows the Fast Way
- Hide vs Filter vs Group Choosing the Right Tool
- Protecting Rows From Unauthorized Changes
- Automation Audits and Hidden Row Pitfalls
- Quick Reference for Your Next Sheets Session
When Rows Disappear Without Explanation
A row-number jump is a visibility clue, not proof of deletion. Start at the sheet’s left edge before inspecting formulas. If the numbers move from 13 to 17, check for manually hidden rows or a collapsed group. Small arrows around the gap usually point to manually hidden rows, while plus and minus controls identify grouped sections.
Manual hiding uses the row-number gutter. Select the row numbers, right-click, and choose Hide rows. Google Sheets keeps the values, formulas, and formatting in place, then marks the hidden area with a narrow gap and arrow controls. Clicking an arrow restores the rows. The same behavior can be reversed by selecting the surrounding rows and choosing Unhide rows.
If the row numbers stay sequential but expected records are missing, inspect the header for a filter icon and check whether a filter view is active. A filter changes which records appear according to its criteria, so clearing or changing that view fixes the problem. Unhiding rows will not restore records excluded by a filter.
Read the clues in the margin
Grouped rows show a control beside the row numbers. A plus means the group is collapsed; a minus means it is open. Click the control to expand or collapse the block without changing its records. This is different from manual hiding, even though both create an apparent gap in the working view.
Zero-height rows are less obvious. A script, pasted formatting, or a row-resizing action can reduce a row until it is effectively invisible without creating the usual hide arrows or group controls. Select the surrounding rows, open the row-height command, and restore a visible height.
Practical rule: Identify the visibility mode before editing formulas, deleting blank-looking records, or copying data into a replacement sheet. Manual hide, filter view, grouping, and zero-height rows require different fixes.
How to Hide Rows Manually
Manual hiding works best when you want particular rows out of the working view while keeping their values, formulas, and formatting in place. It’s a sheet-structure action, not a formula operation, so the hidden data remains part of the sheet even though it isn’t visible.
Select the rows you want out of sight
Click a row number to select an entire row. For a continuous block, hold Shift and click the final row number, or drag down the row-number column. For separate rows, hold Ctrl on Windows or ChromeOS, or Cmd on Mac, while selecting additional row numbers.
Once the correct rows are selected, right-click anywhere in the highlighted row headers and choose Hide rows. Google Sheets collapses the selection, and the row-number gutter jumps from the row immediately above the selection to the row immediately below it.
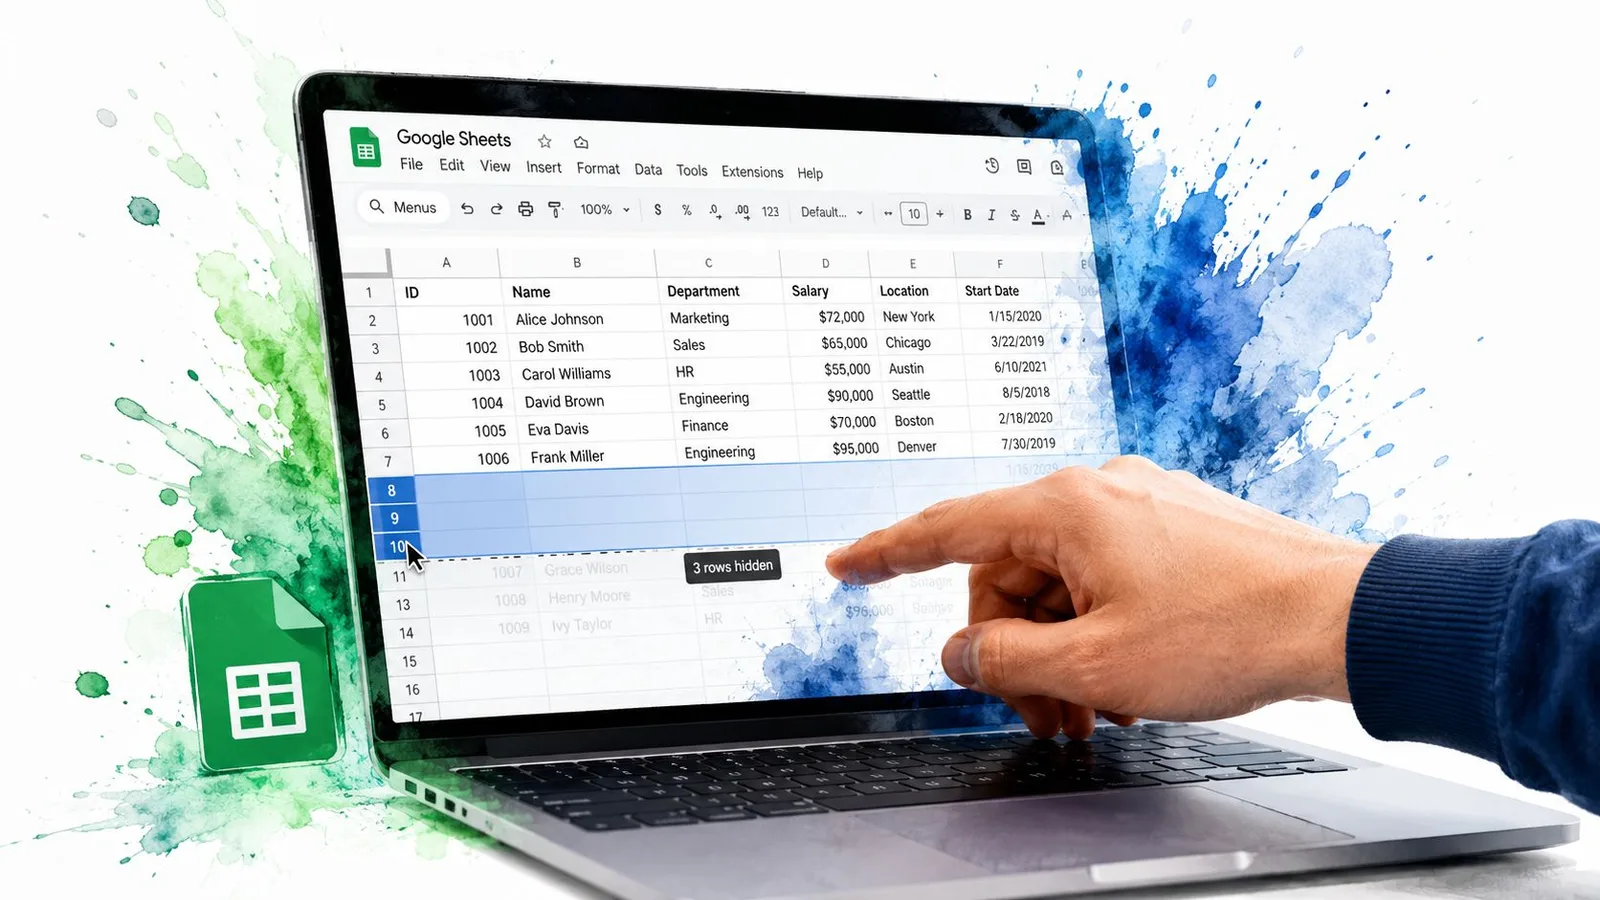
A thin boundary marks the hidden area, and arrow controls may appear at its edges. Those indicators are useful later because they show that the rows were manually hidden rather than filtered out.
The same command is available from Format, through the row-hiding options, so mouse-only workflows don’t have to rely on the context menu.
Use the shortcut when hiding becomes routine
For keyboard-heavy work, published Google Sheets shortcut guidance cites Ctrl + Alt + 9 on Windows and ChromeOS, and Command + Option + 9 on Mac, as documented in this row-hiding shortcut reference. Select the full rows first, then use the platform-specific shortcut.
If the shortcut doesn’t respond, check whether the browser, operating system, or a Chrome extension is intercepting the keystroke. The context-menu command is the reliable fallback, especially on managed devices with custom keyboard settings.
The following video demonstrates the interaction and provides a useful visual check for selecting row headers correctly.
Manual hide is a good fit for collapsing implementation details in a working model. It isn’t a good substitute for a filter view when several collaborators need independent slices of the same dataset.
How to Unhide Rows the Fast Way
Start by identifying what made the rows disappear. A small arrow between visible row numbers usually means a manually hidden block. Click it, and Sheets restores those rows without changing their contents.
If no arrow appears, select the visible rows on both sides of the gap. Click the row number immediately above the suspected range, hold Shift, then click the row number immediately below it. Right-click the selection and choose Unhide rows.
The keyboard shortcut is Ctrl + Shift + 9 on Windows and ChromeOS, or Cmd + Shift + 9 on Mac. Apply it to the same above-and-below selection. If the shortcut does nothing, use the context menu instead. Browser settings, operating-system shortcuts, or extensions can intercept key combinations.
When the arrow has disappeared
Sheets may show no clear unhide control when rows beside the original hidden range were deleted. Widen the selection to include a visible row before the suspected gap and another after it. Add more surrounding rows if you are unsure where the hidden block starts or ends.
A filter requires a different fix. If records are missing because a filter or filter view excludes them, open its controls and clear or change the conditions. Unhide rows affects rows hidden directly by a user, not records removed from view by filter criteria.
For several separate gaps, restore each area individually. This keeps intentional hidden sections intact and avoids changing visibility across the whole sheet. If the gaps remain after checking filters, grouping controls, and row height, the rows may have been set to zero height rather than hidden through the usual command. Select the surrounding rows, open the row menu, and restore a visible height.
Hide vs Filter vs Group Choosing the Right Tool
Rows can disappear for different reasons, so start by identifying the visibility control before changing anything. Manual hide removes selected rows from the shared sheet view. A filter view shows records that match conditions while leaving the underlying dataset available. Grouped rows collapse a planned outline, such as detail beneath a summary. A row with zero height is a separate layout problem, not a normal hidden-row state.
| Feature | Manual Hide | Filter View | Grouped Rows |
|---|---|---|---|
| Best use | Remove specific rows from the working view | Examine records matching conditions | Collapse report sections |
| How it reveals rows | Row-gap arrows or Unhide rows | Clear or change filter criteria | Click the plus control |
| State behavior | Hidden until someone unhides them | Can be saved and reopened | Remains collapsed until expanded |
| Main risk | Collaborators may miss important records | Users may mistake filtered rows for deleted data | The collapsed outline can be overlooked |
Choose based on the problem
Use manual hide when the same simplified structure should remain visible to everyone, such as a report that keeps detail rows beneath a summary. It changes the sheet’s shared visibility, so collaborators may overlook records until they unhide the rows.
Use a filter view when the task is to inspect a changing slice of a dataset. Each person can apply different criteria without repeatedly hiding and restoring rows in the base view. Filter views can be saved and reopened through Data, Create filter view, and Change view. Before assuming records were deleted, check whether criteria are excluding them.
Grouped rows fit reports with a stable hierarchy. A monthly detail block can stay available behind a plus control while the summary remains readable. The trade-off is discoverability. A collaborator may miss the collapsed outline, especially during a screen share.
Use zero-height rows when the issue is formatting or layout rather than the hide command. Restore the row height before rebuilding filters or groups. This decision tree prevents a common mistake: cycling through hide and unhide commands when a filter, group, or row-height setting controls the result.
Before restructuring a dense sheet, consider related cleanup such as merging cells in Google Sheets. Do not use merged cells to imitate visibility controls. Merging changes the layout and can complicate sorting, filtering, and automation.
Protecting Rows From Unauthorized Changes
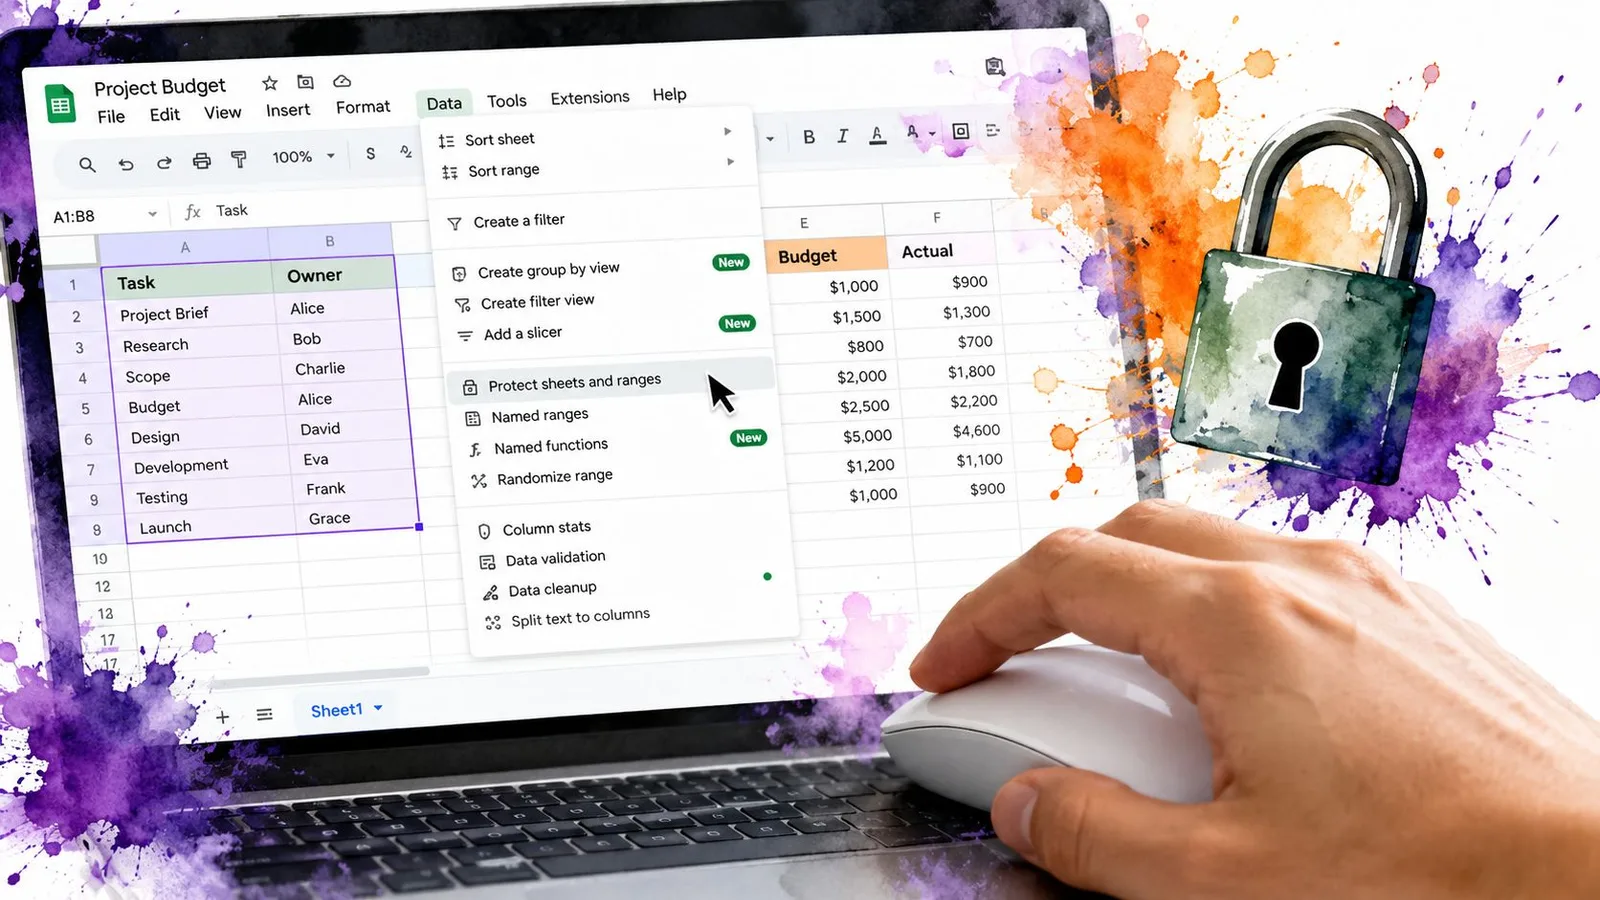
Hiding rows only changes visibility. It doesn’t protect sensitive values, prevent edits, or stop a collaborator from revealing the section. For control over the data itself, use Data, Protected sheets and ranges.
Choose Add a new range, then define the row range by entering it or selecting the row headers. You can give the range a name and add a description explaining why it is protected. In the permissions panel, choose Only yourself, Custom, or Anyone with link can edit, depending on the access model your team uses.
You can protect a specific range or the full sheet. Specific ranges are usually easier to manage when collaborators need to edit input cells but shouldn’t alter formulas or reference data.
Separate editing control from visibility control
A protected range blocks edits, but it doesn’t necessarily block someone from unhiding rows. If visibility itself must be restricted, open Share, click the dropdown beside the collaborator’s name, and change their role from Editor to Viewer or Commenter.
That creates two layers:
- Protected ranges prevent unauthorized changes to selected cells or rows.
- Viewer or Commenter access limits the collaborator’s ability to alter sheet structure and visibility.
This matters for audit teams reviewing sensitive rows. A hidden section should never be treated as confidential merely because it isn’t visible on screen. If people can edit the file, assume they may be able to inspect or reveal content unless permissions and protection are configured deliberately.
Automation Audits and Hidden Row Pitfalls
A report can look incomplete even while its records remain in the grid. Before changing anything, identify which visibility rule is responsible: manual hiding, a filter view, a collapsed group, or a row whose height was set to zero. Automation must inspect these conditions separately because they do not represent the same state.
For Apps Script workflows, isRowHiddenByUser can identify rows hidden manually by a user. That check helps a script distinguish user-hidden rows from records excluded by filtering. Formulas and scripts may still process underlying values even when those rows are absent from the current view.
Audit insight: A row missing from the interface may still exist in the grid, and a filtered-out row is not the same as a user-hidden row.
Filter views require their own check. Rows excluded by a filter view are not handled through Spreadsheet service methods in the same way as user-hidden rows. Inspect the active filter and its criteria before treating missing records as deleted or manually hidden.
Groups and zero-height rows add two more failure points. A collapsed group is controlled from the outline margin, while a zero-height row can appear deleted even though its data remains. An audit that checks only isRowHiddenByUser can therefore miss the primary cause.
Hiding large amounts of obsolete data also makes a workbook harder to maintain. If records no longer belong in the working sheet, move them to an archive or delete them instead of treating hidden rows as permanent storage.
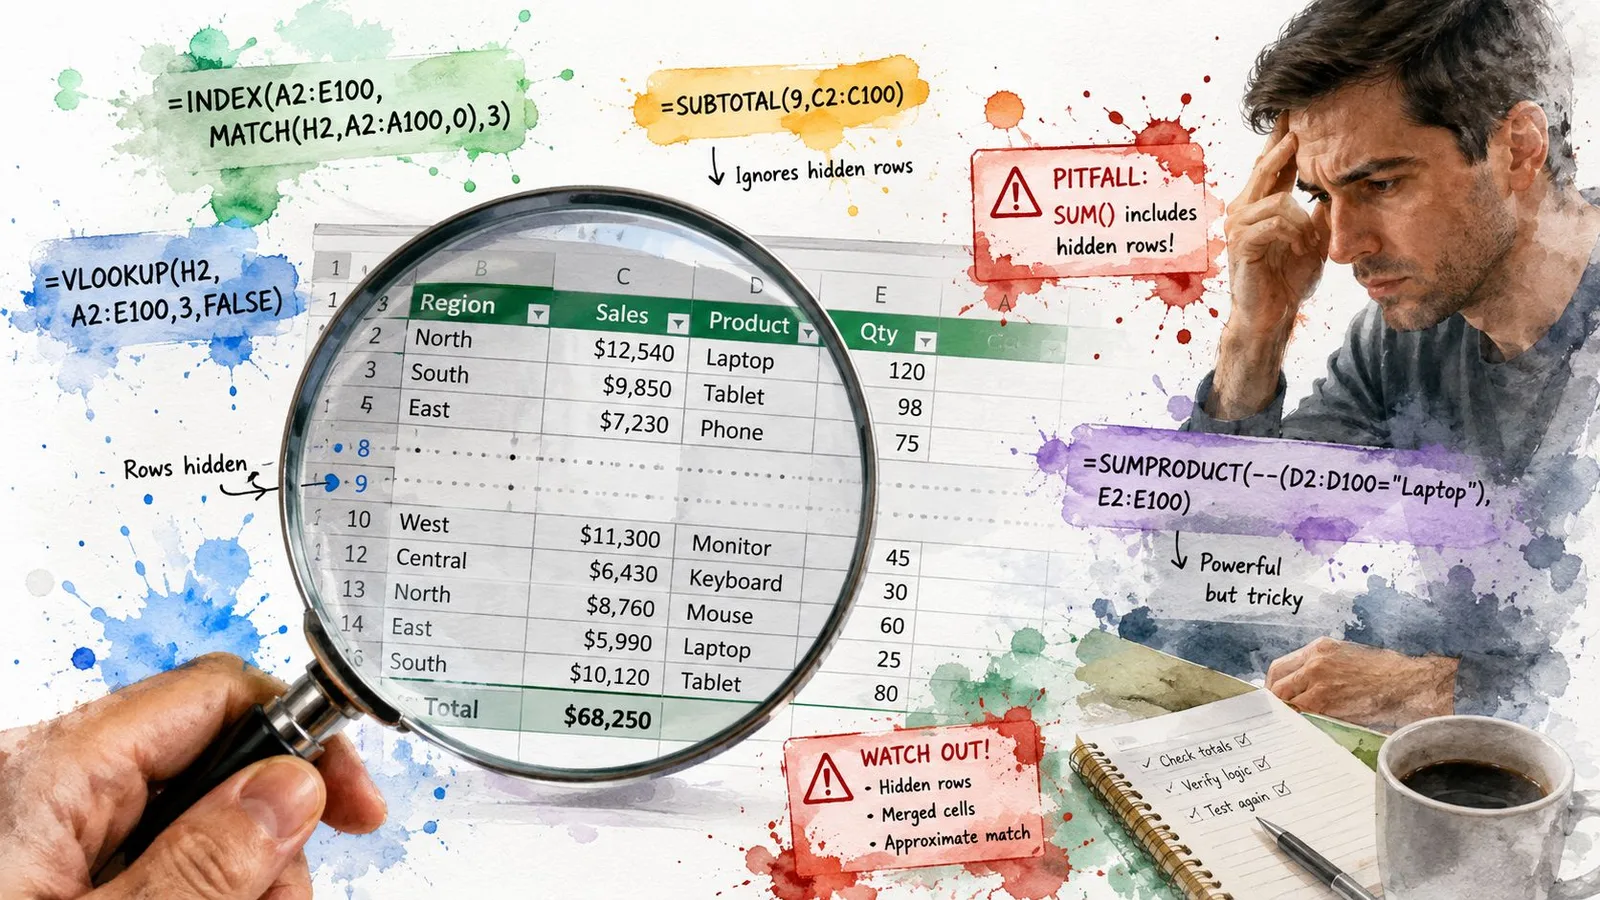
For recurring audits, have a script record affected row numbers and the visibility condition it detects. Review the active filter view, group state, row height, and user-hidden status before restoring anything. Teams handling formulas, cleanup, or sheet analysis can also evaluate GPT Workspace for Google Sheets as part of that workflow.
Quick Reference for Your Next Sheets Session
Before hiding anything, name the actual objective. If you’re removing clutter temporarily, use a filter view. If you’re collapsing a report for navigation, group the rows. If specific rows should disappear from the working view, use manual hide. If the concern is unauthorized editing, use protected ranges and permissions instead.
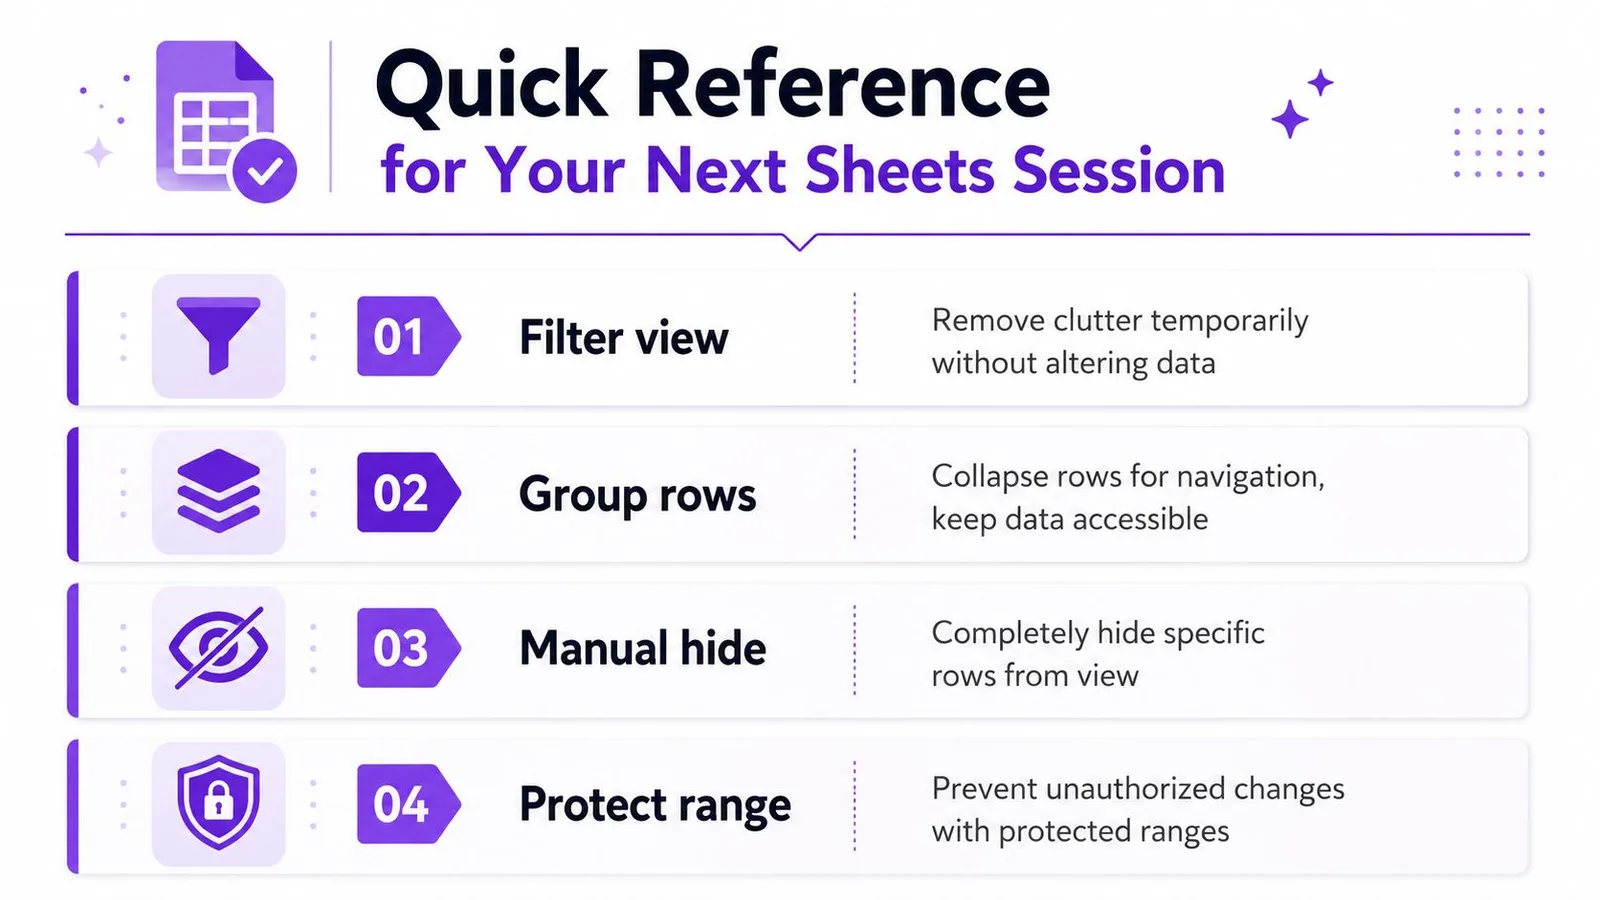
Use this short diagnostic list when rows vanish:
- Check row numbers: A gap points toward manual hiding or a collapsed group.
- Check the margin: A plus or minus icon signals grouped rows.
- Check filter controls: Active criteria may be excluding records from view.
- Check row height: A zero-height row can look deleted without being structurally hidden.
- Check permissions: Protection may block edits, while role settings control structural changes.
- Check automation: Scripts can reapply visibility rules after someone restores the rows.
A shared sheet also has shared consequences. Manual hiding can affect collaborators, while filter views are designed for reusable, separate visibility decisions. Before committing, confirm that the selected rows are correct, especially when using a touchpad, then verify that the chosen tool matches the original intent.
For sheet-native assistance with formulas, data analysis, cleaning, and automation, GPT Workspace works inside Google Sheets rather than forcing you to move data between separate tools.
GPT Workspace can help analyze Google Sheets content, draft formulas, clean datasets, and support repeatable spreadsheet workflows from within Google Workspace. Visit GPT Workspace to explore how it can fit into your next row-visibility audit or Sheets cleanup session.